In this blog, you are going to read about how to Set Up a Binance Chain Wallet.
The Binance Chain Wallet is the official cryptocurrency wallet from Binance, designed to interact with Binance Smart Chain (BSC), Binance Chain, and Ethereum.
It allows users to securely store cryptocurrencies, interact with decentralized applications (DApps), and transfer digital assets across blockchains.
This guide provides a detailed walkthrough on how to set up a Binance Chain Wallet securely and efficiently.
What Makes the Binance Chain Wallet Unique?
Before diving into the setup process, here are some standout features of the Binance Chain Wallet:
- Wallet Direct Integration: If you have a Binance exchange account, you can link it directly to your wallet using the Wallet Direct feature. This eliminates the need for copying and pasting wallet addresses when transferring funds.
- tKey Authentication: Users can register their wallets using Gmail via tKey, which provides an additional recovery option. If you lose access to your wallet, you can restore it using any two of the following:
- Gmail login
- Local device
- Account Password
- Cross-Blockchain Support: The wallet supports tokens on Binance Smart Chain, Binance Chain, and Ethereum, making it versatile for various blockchain activities.
Step-by-Step Guide: How to Set Up a Binance Chain Wallet
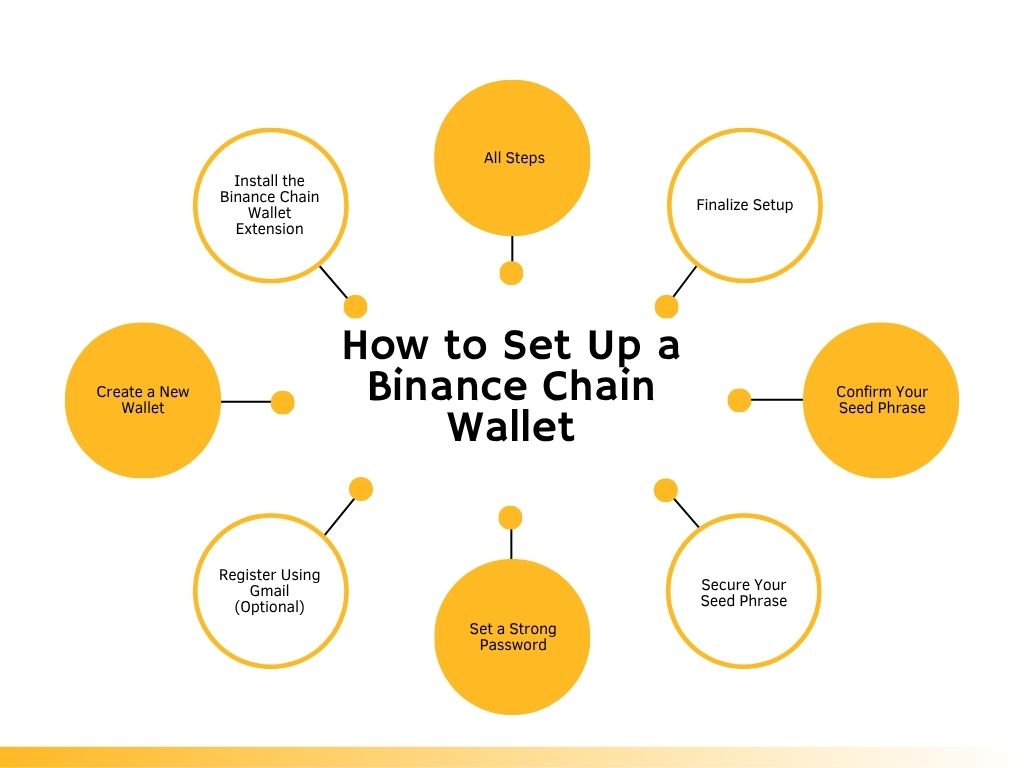
1. Install the Binance Chain Wallet Extension
- Visit the official Binance Chain Wallet homepage.
- Select your preferred browser (Chrome, Firefox, or Brave) and download the wallet extension.
- Once installed, you’ll see the Binance Chain Wallet icon in your browser toolbar.
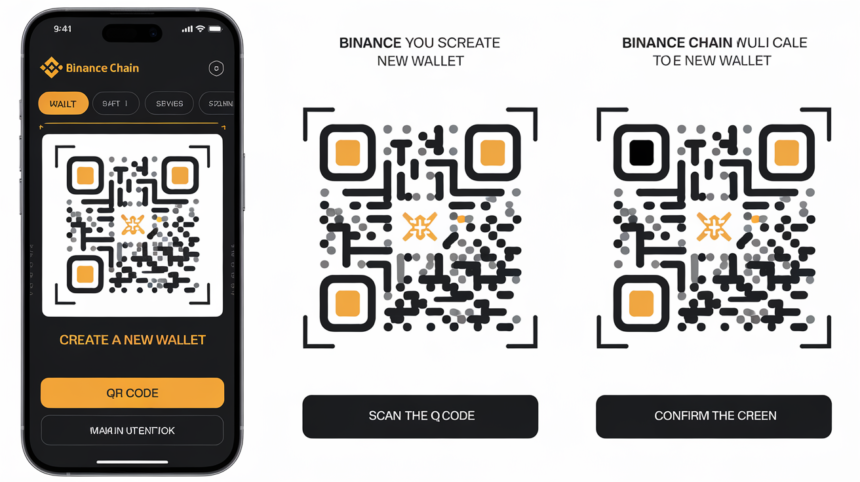
2. Create a New Wallet
- Open the wallet extension and click on [Create Wallet].
- Choose your preferred registration method:
- Gmail via tKey: This method is recommended for beginners as it provides an easy recovery option.
- Seed Phrase: Advanced users can opt for this method by creating or importing a seed phrase.
3. Register Using Gmail (Optional)
- If you choose Gmail via tKey:
- A pop-up will prompt you to log in with your Gmail account.
- This Gmail account will serve as one of the recovery options if you lose access to your wallet.
4. Set a Strong Password
- Create a password for your wallet. This acts as an additional layer of protection against unauthorized access.
- Ensure that your password is strong (a mix of uppercase letters, numbers, and special characters).
5. Secure Your Seed Phrase
- The wallet will generate a seed phrase (12, 15, 18, 21, or 24 words). This is critical for recovering your wallet in case of device loss or failure.
- Write down the seed phrase on paper and store it in a safe location. Avoid saving it digitally to prevent hacking risks.
- Never share your seed phrase with anyone.
6. Confirm Your Seed Phrase
- To ensure you’ve saved your seed phrase correctly, you’ll be asked to input it in the correct order during setup.
7. Finalize Setup
- Once you’ve confirmed your seed phrase and password, click [Continue].
- Congratulations! Your Binance Chain Wallet is now set up and ready for use.
Additional Features and Configurations
After setting up your wallet, explore these features for enhanced functionality:
1. Link Your Binance Account with Wallet Direct
This feature allows seamless transfers between your Binance exchange account and the wallet:
- Go to the “My Account” section in the wallet.
- Click on [Connect to Binance.com Account].
- Enter your Binance account credentials and verify the connection.
- Once linked, you can view all tokens in your exchange account directly from the wallet.
2. Add or Import Accounts
You can manage multiple accounts within one wallet:
- To add a new account: Click on [Add Account], provide an account name, and confirm.
- To import an existing account: Use the private key or seed phrase of another wallet.
3. Connect Hardware Wallets
For added security, connect a hardware wallet like Ledger:
- Plug in your Ledger device and log in.
- Use the hardware wallet option in Binance Chain Wallet to link it.
Best Practices for Security
To ensure maximum security while using your Binance Chain Wallet:
- Enable Two-Factor Authentication (2FA): If linking with a Binance account, activate 2FA for added protection.
- Avoid Public Wi-Fi: Always use secure internet connections when accessing your wallet.
- Regular Backups: Keep multiple backups of your seed phrase in secure locations.
- Beware of Phishing Attacks: Only download extensions from official sources and avoid clicking on suspicious links.
Video Guide on How to Set Up a Binance Chain Wallet
Summary Of How to Set Up a Binance Chain Wallet
Our guide on How to Set Up a Binance Chain Wallet is straightforward but requires careful attention to security measures like safeguarding your seed phrase and enabling additional protections such as tKey authentication or hardware wallets.
With its seamless integration with Binance accounts and support for multiple blockchains, this wallet is an excellent choice for both beginners and experienced crypto users looking to manage their assets securely.
Thanks For Reading our blog about How to Set Up a Binance Chain Wallet.
Also Read